When an employee can't make a shift, they submit a coverage request through the app. You'll be notified immediately and can approve or deny the request with a single tap — keeping your schedule running smoothly.
Receive a Request
You'll receive a push notification as soon as an employee submits a coverage request.
Tap the notification to go directly to the request, or find it on your Dashboard or Schedule tab.
Review the Request
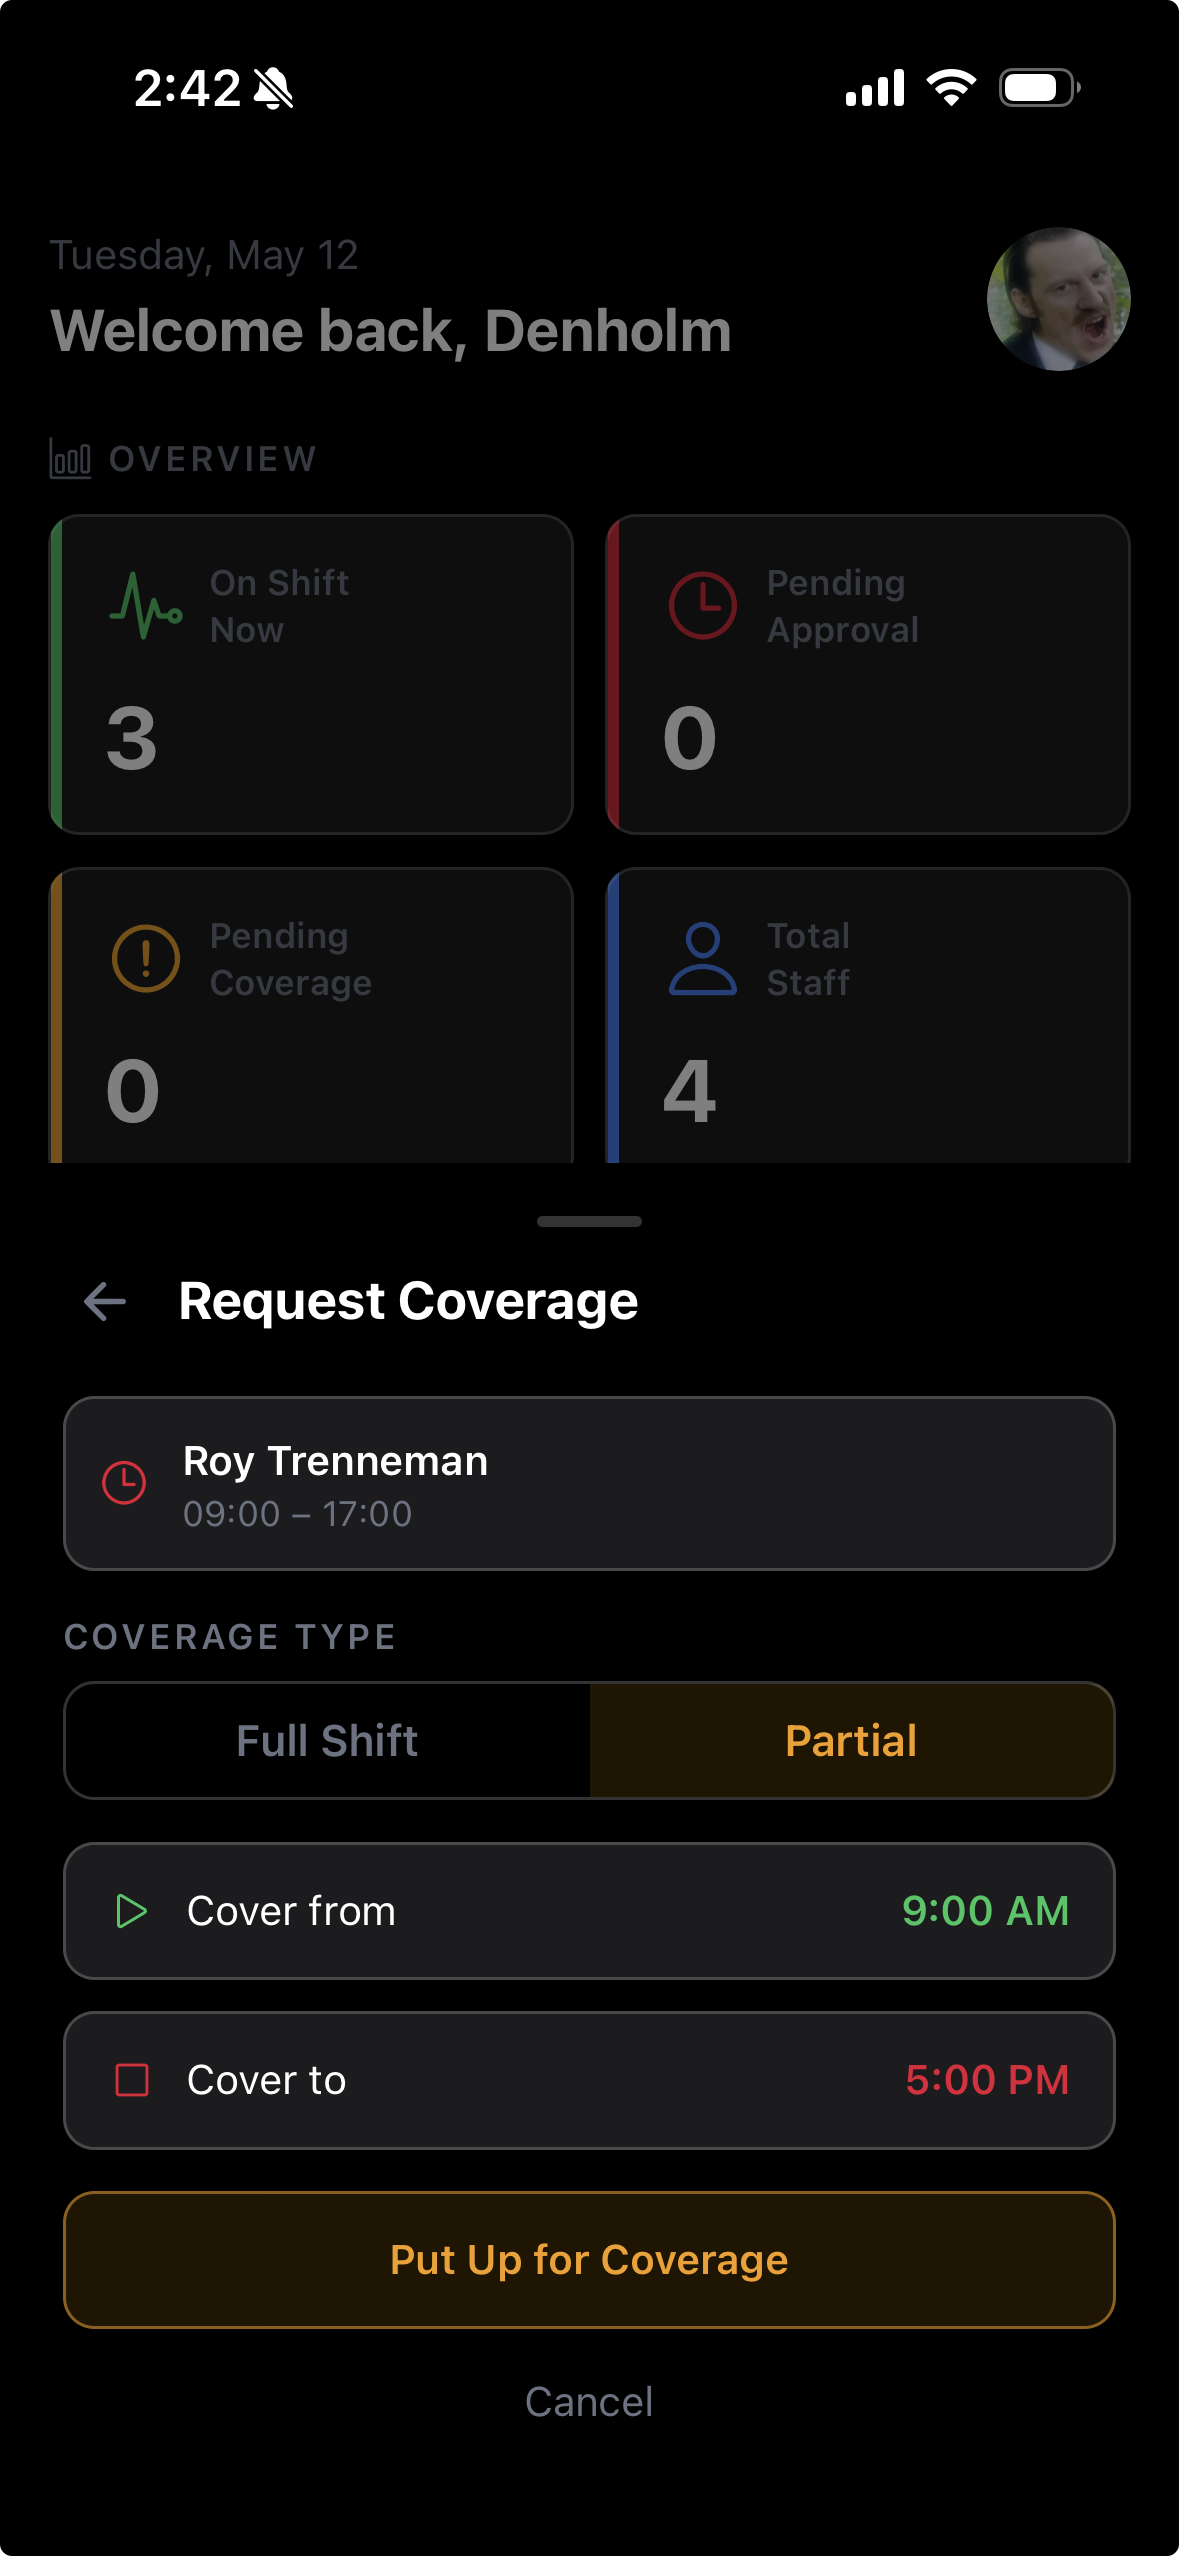
The request shows the employee's name, the shift in question (date, time, and role), and any note they included.
Review the timing to determine whether you need to find a replacement, open the shift to other staff, or deny the request.
Approve or Deny
Tap Approve to grant the coverage request. The shift may be opened for other team members to pick up, or you can reassign it manually.
Tap Deny if the employee needs to work the shift as scheduled — they'll be notified of your decision immediately.
Both approval and denial send a push notification to the requesting employee.
Manually Reassign a Shift
If you approve the request and want to assign the shift to a specific team member, tap the shift in the Schedule tab.
Tap Edit and change the assigned employee to the replacement.
Save the change — both employees' schedules are updated, and the new employee will be notified of their new shift.